Welcome back! In this section, we’re going to learn how to set up the drag gesture in SwiftUI. This is a fairly simple and effective way to add interactivity to your app.
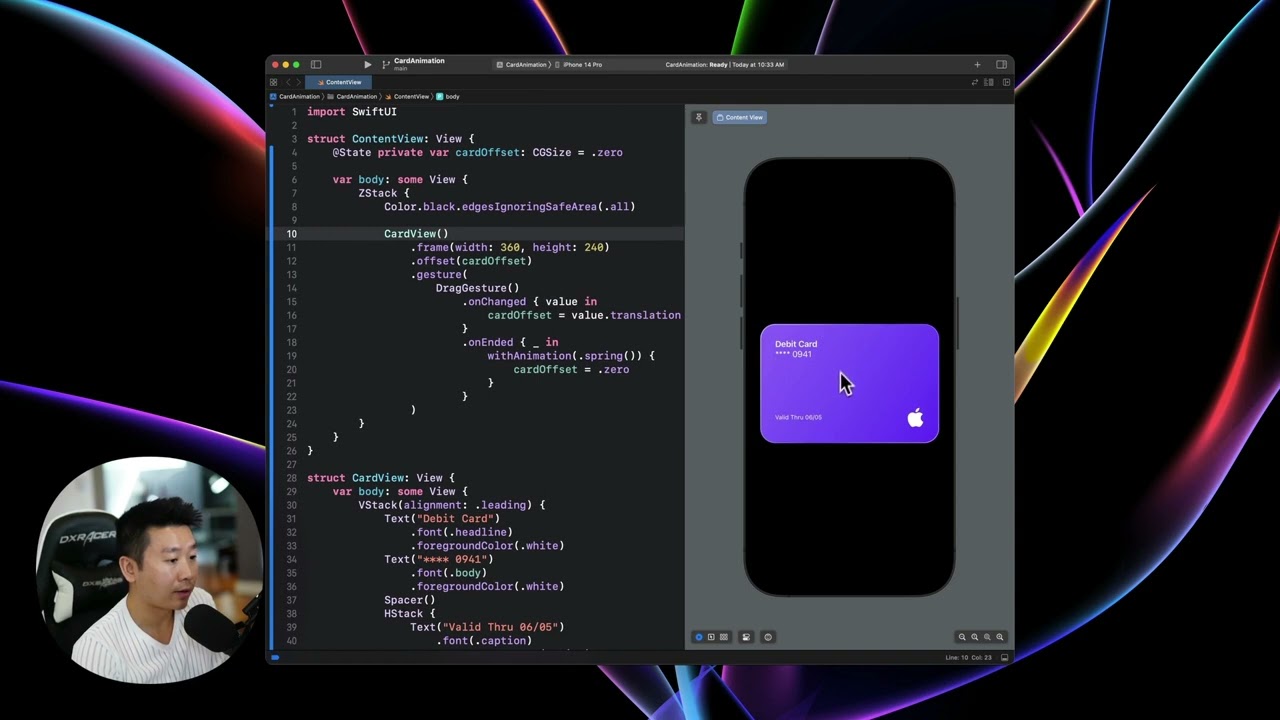
To start, we need to create a component for the card view. This allows us to separate the code for the card view from the styling and other components. It’s a good practice, especially when dealing with complex code.
Next, we’ll set up the drag gesture. We’ll make the card draggable horizontally and vertically, and reset the animation back to its original position. This gives us the flexibility to drag the card in any direction.
Now, let’s add a 3D perspective to the drag gesture. When you drag the card to the right, it will rotate slightly in perspective. We’ll use the rotation3DEffect modifier to achieve this effect. You can customize the angle and sharpness of the rotation to get the desired result.
Remember to update the code in Xcode after making any changes. You can copy and paste the updated code for each component to ensure everything works correctly.
In conclusion, setting up the drag gesture in SwiftUI is a powerful way to add interactivity to your app. By customizing the code and experimenting with different values, you can create unique and engaging user experiences. Have fun exploring the possibilities!
Stay tuned for the next section, where we’ll dive into particle effects with the emitter. It’s going to be really cool!


